I saw a How-To by Propmedic/Juego/Yoink/Wossname on how he made his bonesaw. First thought: AWESOME. Second thought: I want one. Third thought: I want mine a little thinner and a little longer.
So I made an outline.

20″ bonesaw from handle to tip. I cut one piece from some black mounting board using this pattern. Then I painted the blade part with some liquid silver I had leftover from another project.
I moved on to my second outline.

From the same mounting board (a $5 standard size sheet available at any craft shop) I cut two of this pattern and painted the “spine” of the bonesaw with the liquid silver. Using a combination of Elmer’s stick-all and generic clear glue, I attached it to the blade.
To the third!

Once again, two of this pattern. Liquid silver over the parts that will not be covered by the next outline. Stick-all. Because the mounting board is thinner than what Propmedic used, this bonesaw will end up with seven layers total. Don’t worry if that sounds like a lot, it’s already at five layers.
Last outline.

This one is just to thicken the handle and add the screw to the bonesaw. The whole thing, after all seven layers, is about 3/4″ thick.
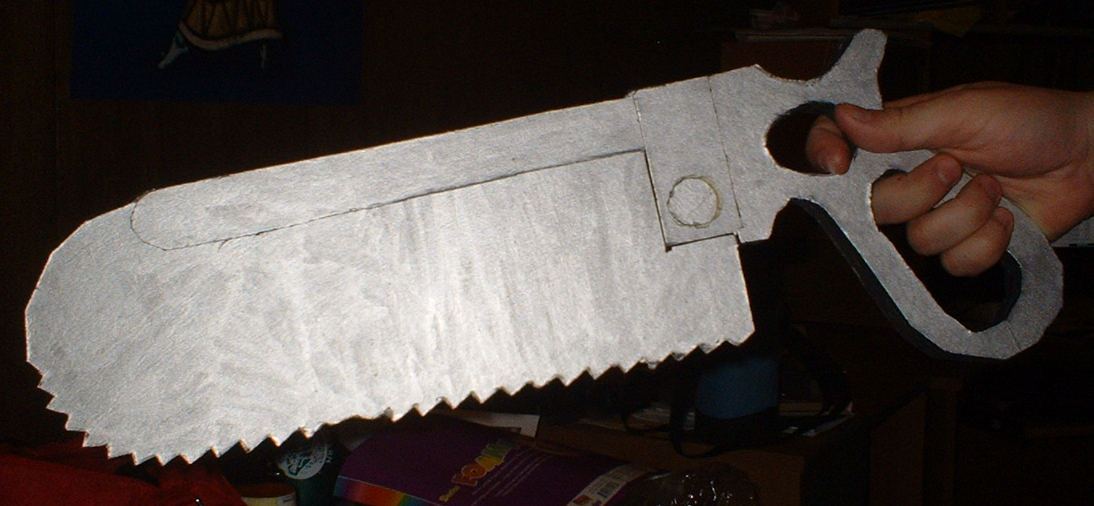
Silvered up product. Jorenko helped make this (he cut out the handle holes).
Everyone knows a well-used bonesaw is not that shiny.
![]()
So I got some copper paint and watered it down to give a nice rusty wash.
Not rusty enough for you?
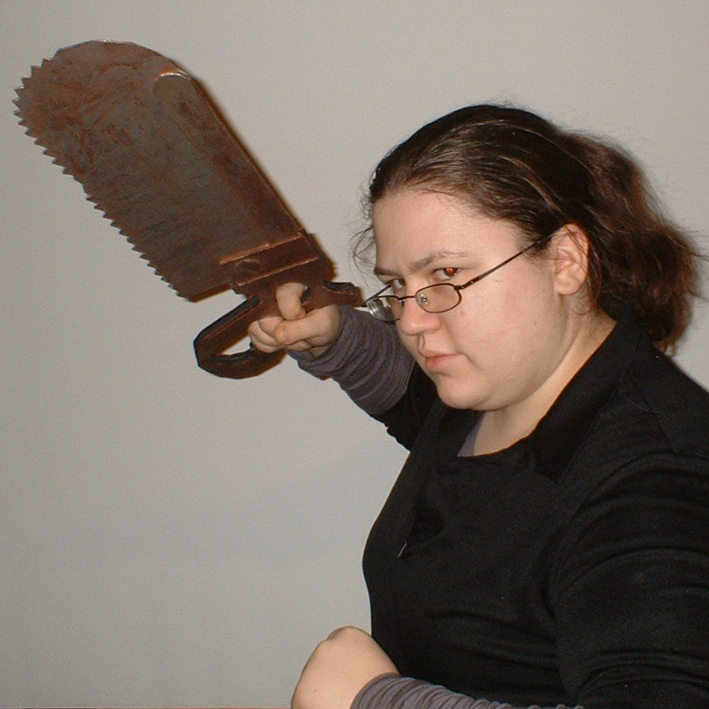
More rust. More Medic pose.
Not medic enough for you?
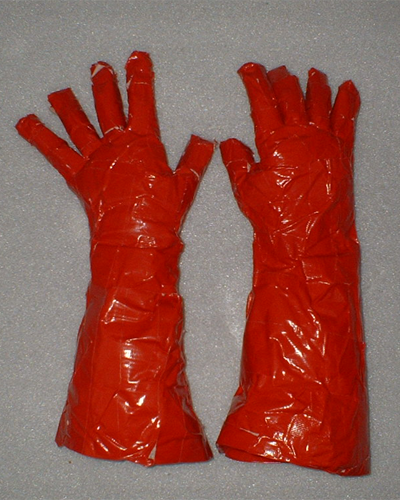
Duct tape gloves, for the hell of it.
